 After posting on facebook how I fixed my thermostatic valve in my bathroom, I turn back to my blog. Maybe this info will help some, if not, at least it helps to remember at the next time I’ll have the same error.
I have a nespresso machine (c100 Essenza) for 5 or 6 years. In 2011 it began to have strange flashing of the leds during coffee making, and later on it stopped working. Local repair service repairs it for fixed tariff, ~50 EUR, which is basically the same as for buying a new machine after refunds in capsules.
Now, in 2014 is started to randomly (crazily) flashing de leds.
There is a great forum for all other errors, but the No. 1. of these devices is surely the same as I enocuntered.
http://www.maultech.com/chrislott/blog/20100627_nespresso.html
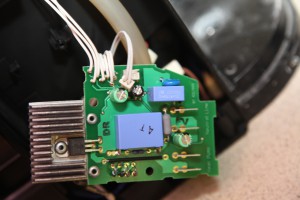
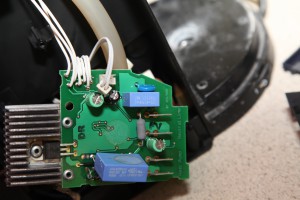
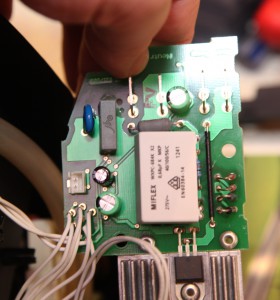
Basically, the power supply unit, if turned on all the time, experiences high temperature and some components, namely the X2 filter capacitors ( 220 nF and 680 nF) loose capacity and probably make other failure events after years of working.
In my case, my device was already repaired officially in 2011. I figured out that the whole PSU/control panel was replaced, instead of chaning the cheap 1+0,5 USD capacitors.
The first and biggest issue: you have to open the very special oval screws. My expreience: Span tool no. 10 might work, but it is nearly impossible to use! Any bit head is problematic, because bit-head-screwdriver is more wide than it could be used.
So first step is to go for ebay and but the special oval tool for $10 or so! Better wait for that and order it at first moment, other options are no good.
Then, please prepared that the PSU panel is attached with T10 torx screw, and again, bit carrier is too wide to use a bit head to open it. Prepare the work with a T10 thin “lead” screwdriver.
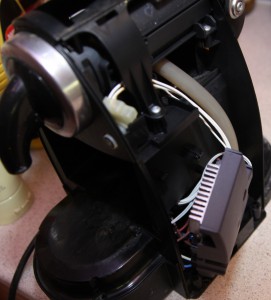
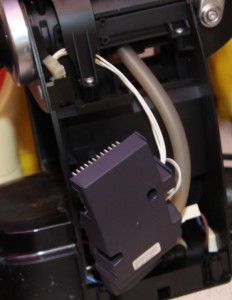
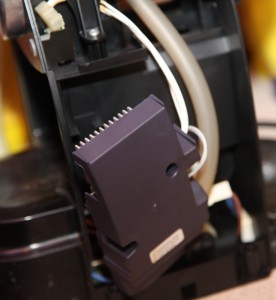
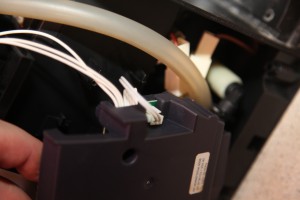
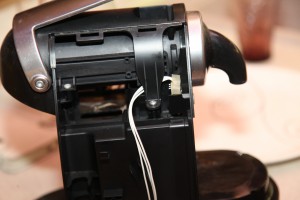
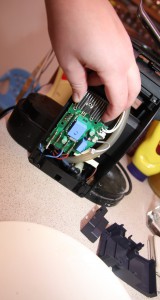
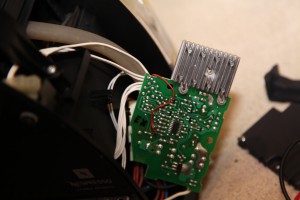
The fix is pretty obious. Turn off device, plug off, wait. Take parts, on the bottom, unscrew 4 deep screws, or just two on the right side. The side should be removed at the bottom first, it is attached as a ankle at the top. take it off. PSU part is in a grey box, box is a three-part palstic box with click-in parts and fixed with 2 torx 10 screws. Take the screws, take off plastic parts.
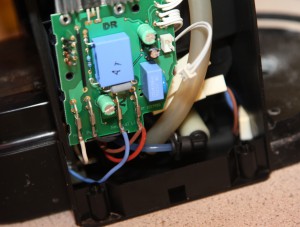
For fixing, you might to temprorary remove the 2-pin white stripe with connector and the 4 power wires at the bottom removable easily.
680 nF capacitor is glued to the board, but with little force it can be bent to vertical and then de-soldered. Solder is bad bad solder, very hard to remove with desoldering wire, so for me, beginner in soldering it is a mess to do. I think it is because the fantastic green soldering composite.
for the 680 nF capacitor on the PCB there are 3 holes, most likely to be good for different sizes of the capacitor. My capacitors were a Korean Pilkor brand.
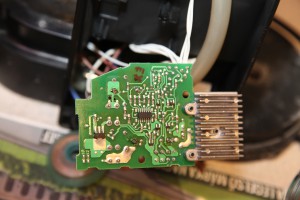
My failure was that I unsoldered a VIA near the 220 nF capacitor that made the right led not lighting. Due to my lack of quality in soldering, finally I bypassed the wole line in the PCB with a small wire from the entry point thill the resistor near the chip istead of fixing the via.
So just change two (seemlingly perfect, but by measurement 680 nF-> now 200 220 nF -> now 5) capacitors, fix your failures, reassemble and be happy, your machine is fixed.
My replacement part is also for 100C as the original component. Would be nice to have better X2 capacitor that won’t need replacement after 3 years…
